PleinAir · Oil & plein air
WATCH: Helpful Seascape Painting Tips from Scott Hamill
Learn how to build a breaking wave seascape with bold shapes, dark-to-light oil painting, luminous foam, and edge control—plus practical plein air guidance from Scott Hamill.
By Plein Air Today · November 1, 2026
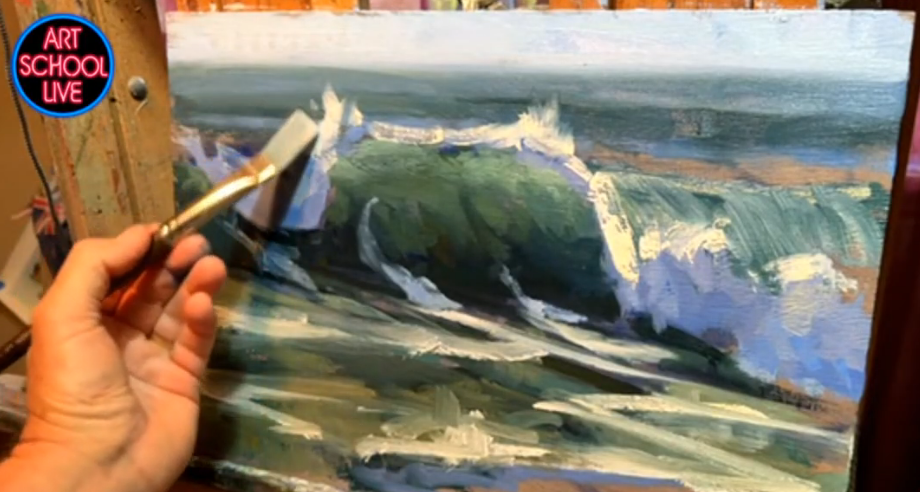
A convincing wave painting does not begin with hundreds of tiny bubbles. It begins with big shapes, strong values, and brushwork that carries the ocean’s energy. In this Art School Live lesson hosted by Debra Huse, Scott Hamill explores how a bold, loose start can develop into a seascape full of light and movement, without getting tangled in detail too soon. (Note: Hamill has just released [“Paint Mountains with Energy,”](https://painttube.tv/products/scott-hamill-paint-mountains-with-energy-subhead-new-zealands-southern-alps-in-oil-or-a-new-zealand-landscape-in-oil?utm_campaign=scott-hamill-2026&utm_source=website&utm_medium=article&utm_content=20261012-blog-cdh&utm_term=outdoor-painter) a new art workshop available here.)
The demonstration follows a breaking wave from its initial design through an expressive oil painting block-in. The painting remains unfinished, but the essential decisions are clear: where the wave turns, how light passes through its lip, and which edges deserve attention.
Watch the lesson below to learn specific tips for designing foam patterns, mixing luminous water colors, and softening edges without losing the focal point:
Loads an external video provider. Playback does not start automatically.
Choose a Wave Design, Then Stay with It
The ocean never holds still. Before painting, you’ll benefit from studying how waves rise, curl, and break. Repeated wave patterns provide opportunities to understand the movement rather than chase every new splash.
Once the arrangement of dark water and light foam is established, Hamill recommends staying with that original plan (a photograph can help preserve the chosen moment). Foreground perspective lines and thoughtfully arranged foam patterns then guide the eye toward the breaking wave.
Commitment does not mean copying every detail. Shapes can move when the painting needs a stronger composition. The goal is an expressive painting, not a literal inventory of the shoreline.
Build Form from Dark to Light
Hamill starts with thin paint and a large number 12 flat brush, establishing the darkest shapes first. In this example, the thick base of the wave stays dark while the thinner lip becomes lighter and more translucent.
- Water darks: Ultramarine deep and gold ochre create an earthy gray-green.
- Lighter water: White added to that mixture produces an emerald-like color.
- Shadowed foam: Ultramarine deep and permanent rose create a clean violet.
- Sunlit foam: White with small touches of cadmium yellow pale and permanent rose makes a warm, peachy light.
Those cool foam shadows against warm sunlight supply much of the excitement. Switching to a clean brush for lighter passages helps keep the colors from becoming muddy.
Use Depth and Edges to Create Movement
A softened horizon helps the distance recede. Hamill also explains how distant water often reflects more sky and appears lighter than foreground water, while acknowledging that observation can reveal exceptions.
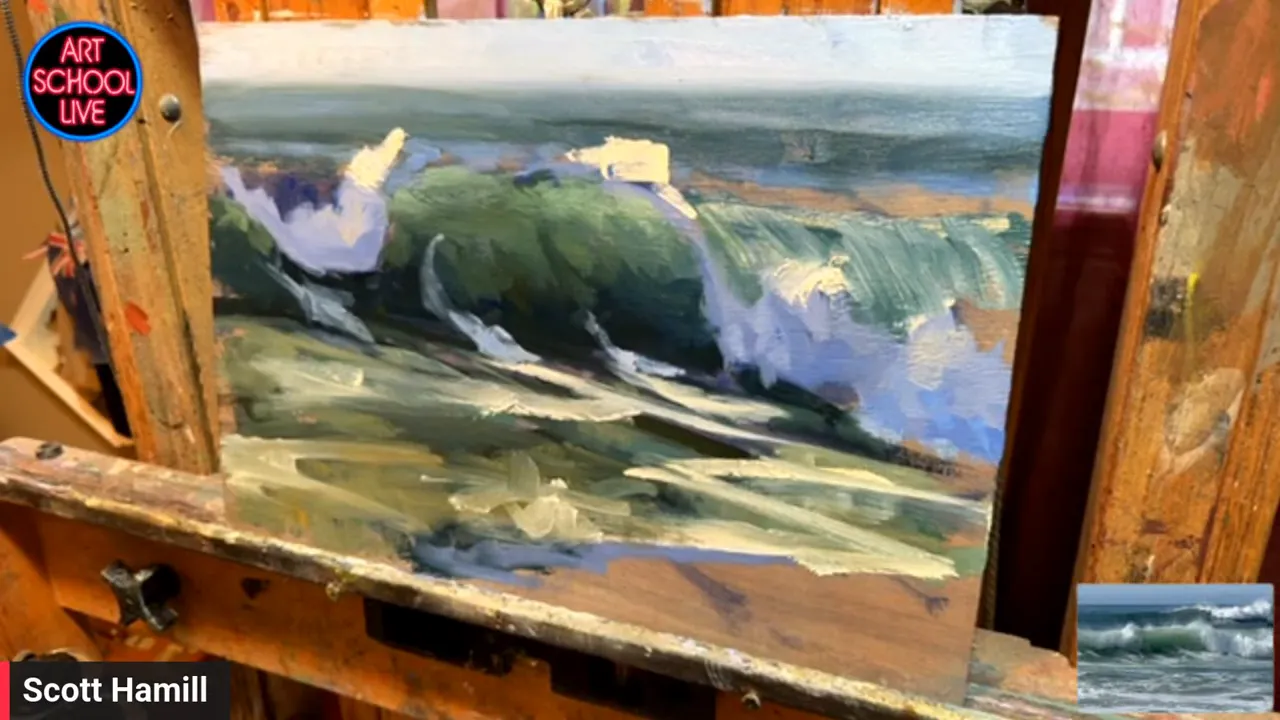
Near the focal point, strong light-against-dark contrasts remain crisp. Elsewhere, a clean, dry brush gently softens selected edges to suggest windblown spray and moving water. Directional strokes reinforce the wave’s curl, while negative shapes help refine the foam.
Keep the Energy, Lose the Pressure
The lesson’s most encouraging reminder is that a plein air session can be practice rather than a finished, frame-ready painting. Broad beginnings leave room to play. Stepping back reveals whether the design reads convincingly from a distance, even when the paint remains beautifully loose up close.
In “Paint Mountains With Energy,” watch award-winning artist Scott Hamill paint New Zealand’s towering Southern Alps with one brush for 90% of the work — using “controlled omission” to create mountains that actually breathe!
Loads an external video provider. Playback does not start automatically.

Blog post prepared for the web by Cherie Dawn Haas, Editor of Plein Air Today